Catégories
dernier blog
When a disaster strikes, getting relief tents up quickly is only half the job. The other half is making sure each shelter fits its purpose — a 12-square-metre tent meant for four people can feel cramped if beds, personal storage, and walkways are not planned. This guide walks through how to lay out relief tents for different uses, what sizes to choose, and what to confirm before ordering.
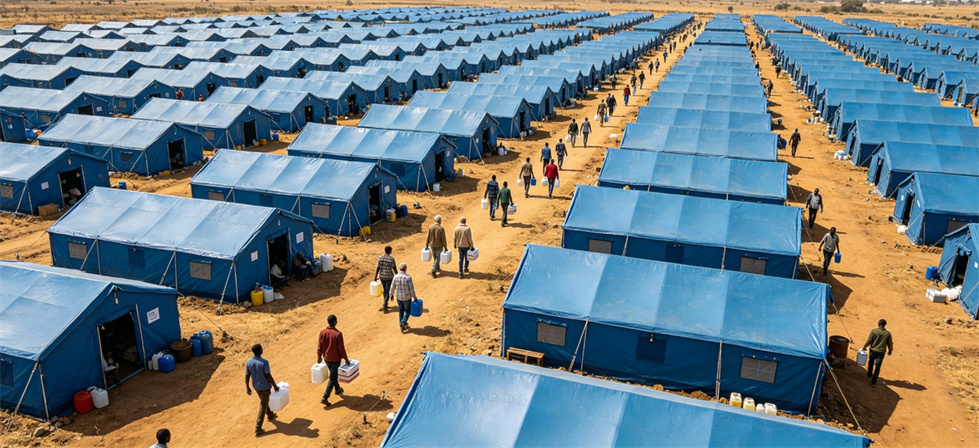
Whether you are setting up a refugee camp, a field medical post, or an emergency storage area, the layout decisions you make before deployment determine how well the camp functions day to day. A well-planned relief tent layout reduces overcrowding, improves safety, and makes daily operations smoother for everyone. Humanitarian shelter workers consistently find that 30 minutes of layout planning before setup saves hours of reorganisation later.
Most relief shelters fall into one of four categories. Each needs a different layout and a different tent size. Mixing them — for example, using a storage shelter as accommodation — leads to overcrowding and safety issues. The same emergency tent that works for a family may be unsuitable for a medical post, so matching the disaster shelter type to its use is the first planning step.
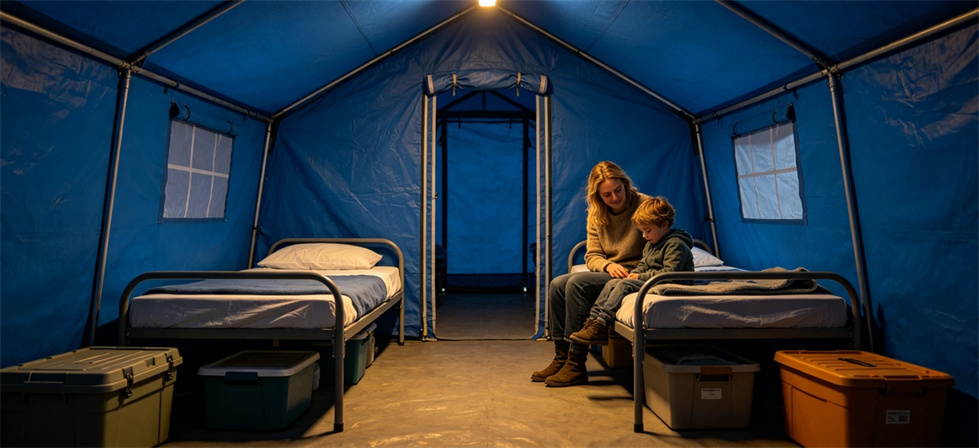
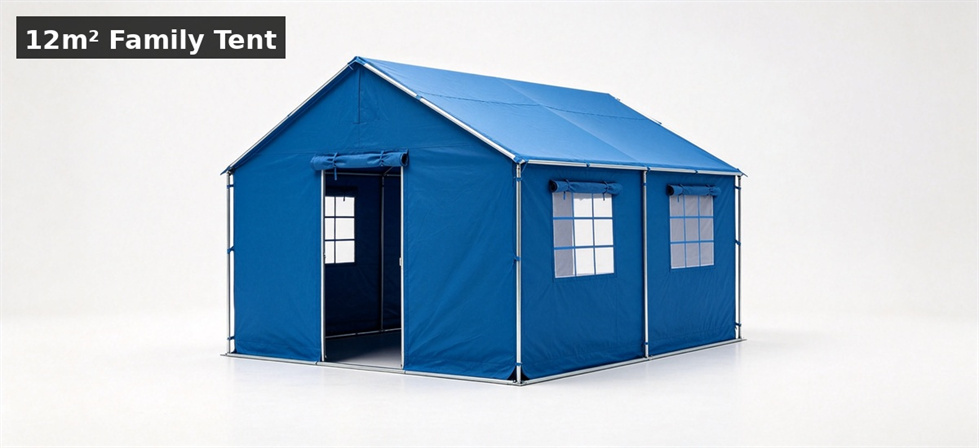
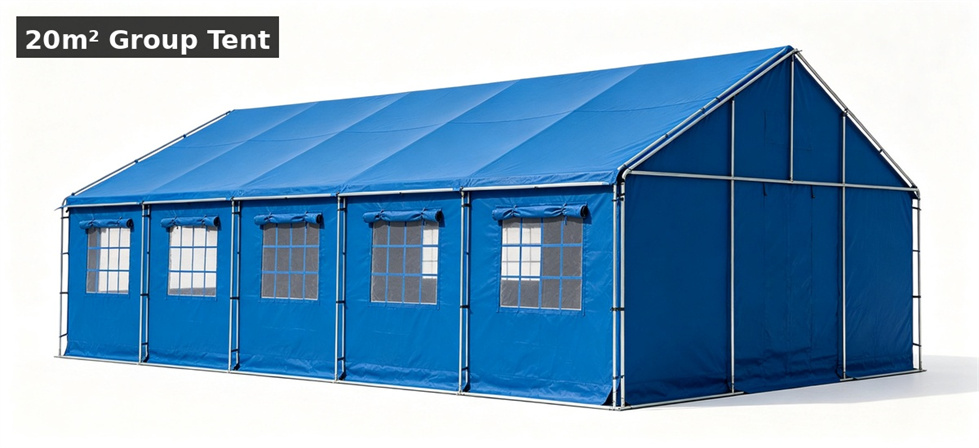
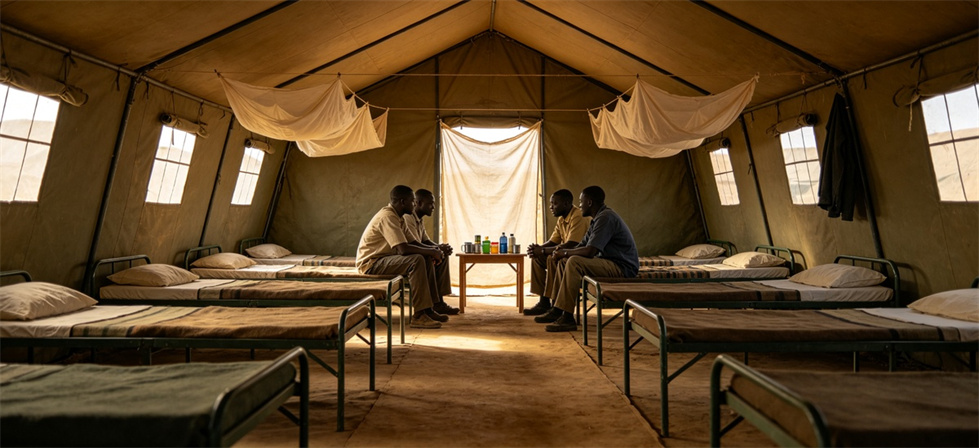
These house families or individuals. The most common size is 12 square metres (about 3.7 × 3.2 metres), which comfortably fits 3 to 4 people with beds and personal storage. Larger 20-square-metre shelters (4 × 5 metres) house 6 to 8 people and are often used for group accommodation or extended families.
The key is leaving enough walkway space between beds. A 60-centimetre aisle between two rows of beds is the minimum; 80 centimetres is better for wheelchair access and carrying supplies.
Medical shelters need separate zones for triage, consultation, and recovery. A 32-square-metre tent (about 6.6 × 4.6 metres) is a common size for a field clinic, with space for 2 to 3 workstations, a patient bed, and a supply shelf. Larger 36 to 60 square metre shelters are used for field hospitals or isolation wards.
Medical tents should have a designated entrance that does not open directly into the patient area, and flooring that can be cleaned easily. Good ventilation is essential — look for tents with mesh windows or roof vents.
Command shelters house coordination teams, communication equipment, and meeting space. A 20 to 30 square metre tent works for a 4 to 6 person office, with desks, chairs, and a central table. Larger 37 to 60 square metre shelters are used for joint operations centres with multiple agencies.
Cable management is important here — communication equipment, laptops, and radios all need power. Plan for a cable channel along the tent wall and a dedicated corner for the power supply.
Storage shelters hold food, water, blankets, clothing, and other relief supplies. Size depends on volume, but a 36 to 60 square metre tent is standard for a camp distribution point. Pallets or shelving keep supplies off the ground, and a central aisle allows forklift or hand-cart access.
Separate food storage from non-food items if possible. Keep chemicals and cleaning supplies in a dedicated corner away from food and medicine.
A well-laid-out accommodation shelter starts with measuring the usable interior space — not just the external dimensions. Relief tent walls slope inward, so the floor area you can actually use is about 10 to 15 percent less than the external footprint.
Key point to confirm: Always ask the supplier for the usable interior floor dimensions, not just the external size. A tent labelled "12m²" may have only 10m² of usable floor space once the sloping walls and door area are accounted for.
A field medical tent needs clear zones so patients move through in one flow — in through triage, out through recovery. This prevents cross-contamination and keeps the workflow efficient.
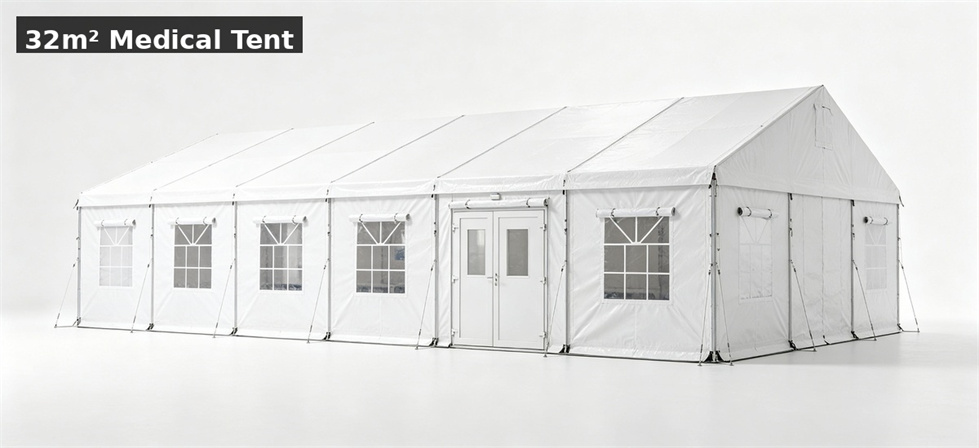
Medical tents should be placed near the camp entrance but away from accommodation areas. This makes them easy to find for new arrivals and reduces noise disturbance for residents.
A command tent needs to support focused work and meetings at the same time. The layout should separate the work area from the meeting area so that phone calls and discussions do not distract people working at desks.
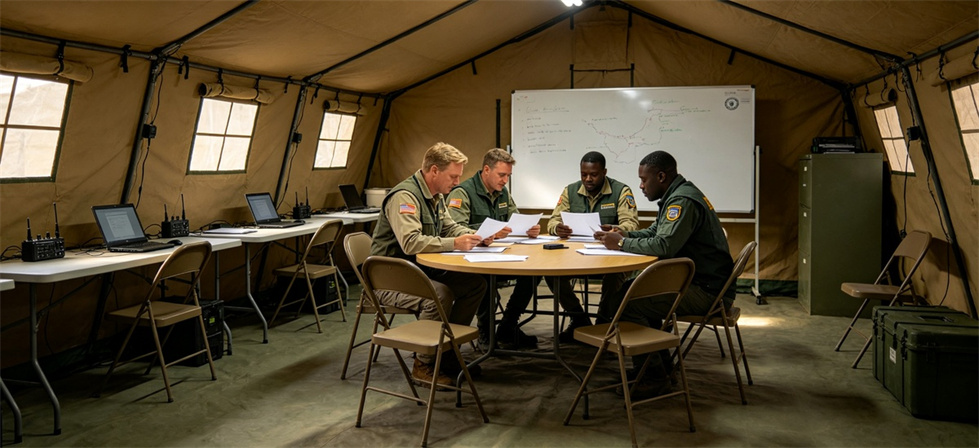
For larger joint operations centres (37 to 60m²), divide the space into agency zones with a central meeting table. Each agency gets a workstation area along the wall, and the centre serves as a shared coordination space.
A storage tent that is well organised saves hours during distribution. The goal is to see everything at a glance and reach any item without moving ten other boxes first.
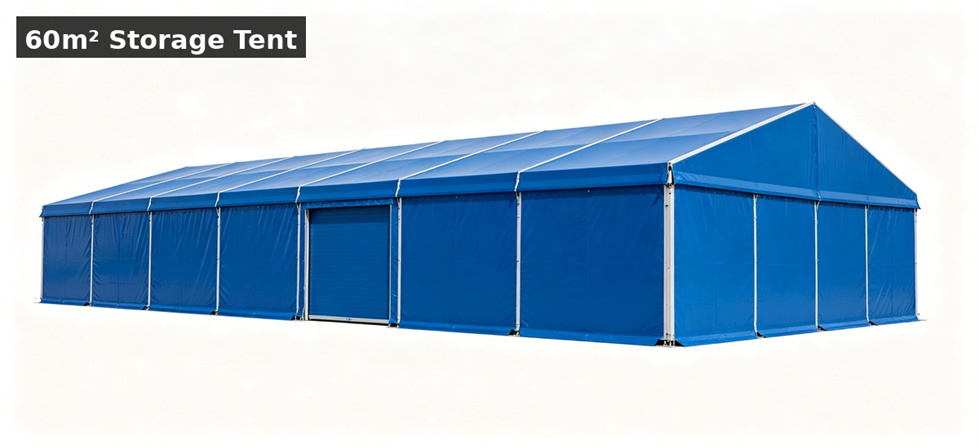
For high-volume storage, consider a 60m² tent or larger. If the camp expects more than 500 residents, two medium storage tents work better than one very large one — you can separate food and non-food, and the risk of total loss from fire or flood is reduced.
Use this chart as a starting point for relief tent selection. The right size also depends on climate (hotter climates need more space per person for air circulation), available camp ground, and budget.
|
Use |
People / Capacity |
Tent Size |
Usable Area |
Notes |
|
Family accommodation |
3-4 people |
3.7 × 3.2m |
~10-12m² |
Most common relief tent size |
|
Group accommodation |
6-8 people |
4 × 5m |
~16-20m² |
Add dividers for privacy |
|
Large group / dormitory |
10-16 people |
5 × 6m |
~25-30m² |
Two rows of beds, central aisle |
|
First-aid / clinic |
2-3 workstations |
4.6 × 6.6m |
~28-32m² |
Triage, consult, recovery zones |
|
Field hospital |
6-10 beds |
5 × 8m or larger |
~36m²+ |
Multiple rooms via partitions |
|
Command / office |
4-6 staff |
4 × 5m |
~16-20m² |
Desks, meeting table, comms |
|
Joint operations centre |
10-20 staff |
6 × 10m |
~50-60m² |
Multiple agency workstations |
|
Small storage |
Basic supplies |
4 × 5m |
~16-20m² |
Single camp point |
|
Large storage / distribution |
500+ residents |
6 × 10m |
~50-60m² |
Pallet racking, central aisle |
The frame and fabric determine how long a shelter lasts and how well it handles weather. Here is what to look for when comparing tent options.

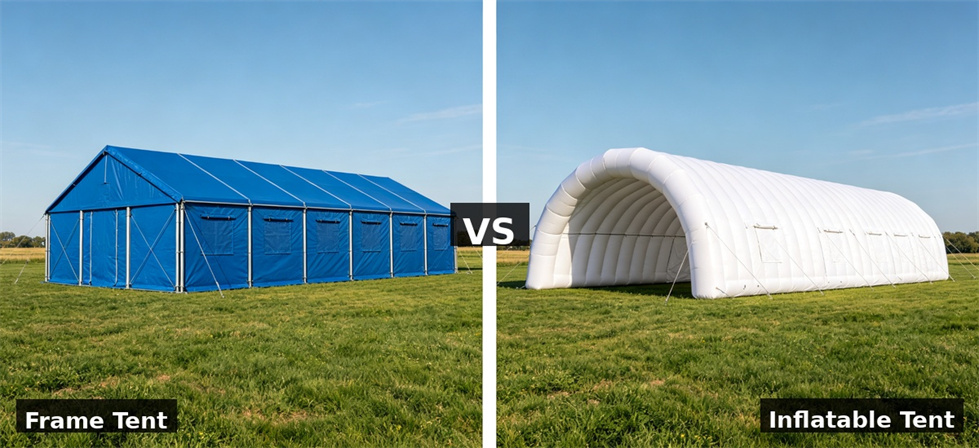
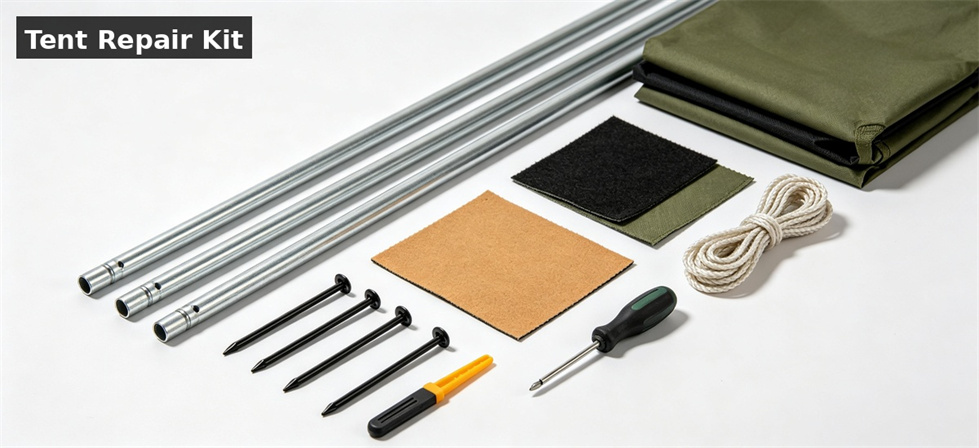
For emergency response where speed is critical, inflatable relief tents use air-filled tubes instead of metal frames. They can be set up by 2 people in 5 to 10 minutes using a pump. Sizes range from 10m² to 60m². They are lighter to transport but require a pump and are more susceptible to punctures — always carry a repair patch kit.
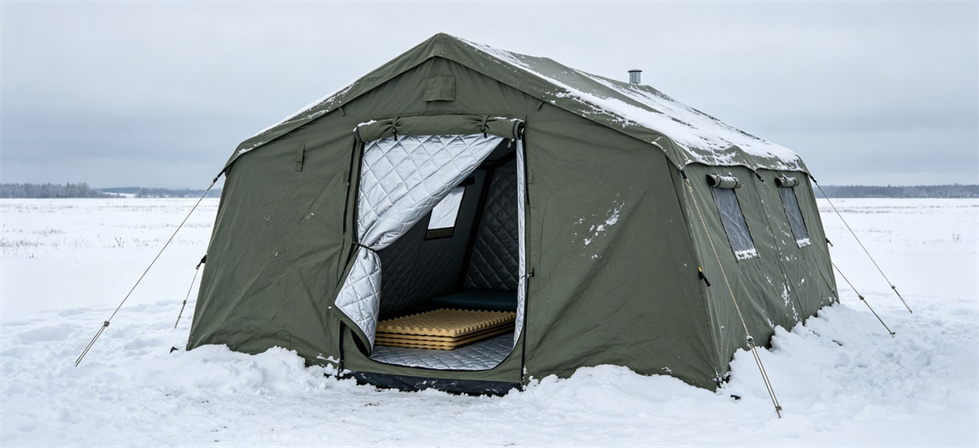
In winter or cold climates, choose tents with an inner lining (cotton or polyester fleece) to reduce heat loss. Add a ground insulation layer — foam mats or wooden pallets under sleeping areas. Ensure the tent has a stove jack or safe heating option if temperatures drop below freezing. Ventilation remains important even in cold weather to prevent condensation and carbon monoxide buildup.
The best shelter layout in the world will not work if the site is not prepared. Check these factors before finalising your tent order and camp plan.
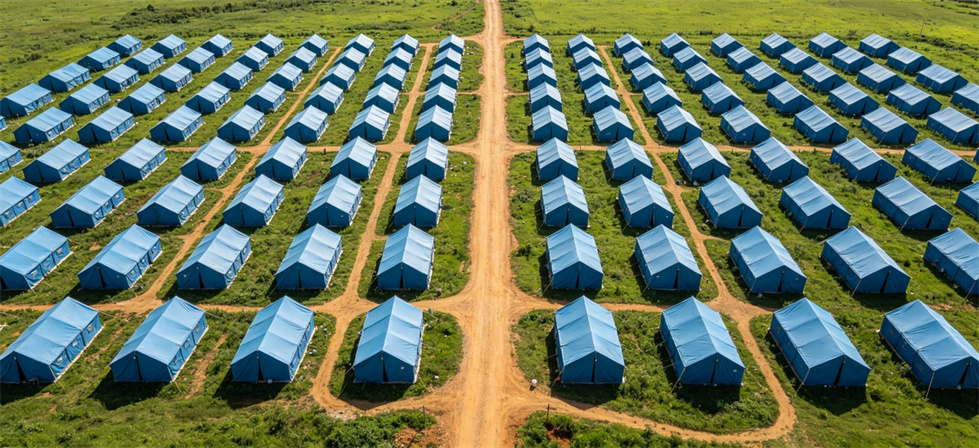
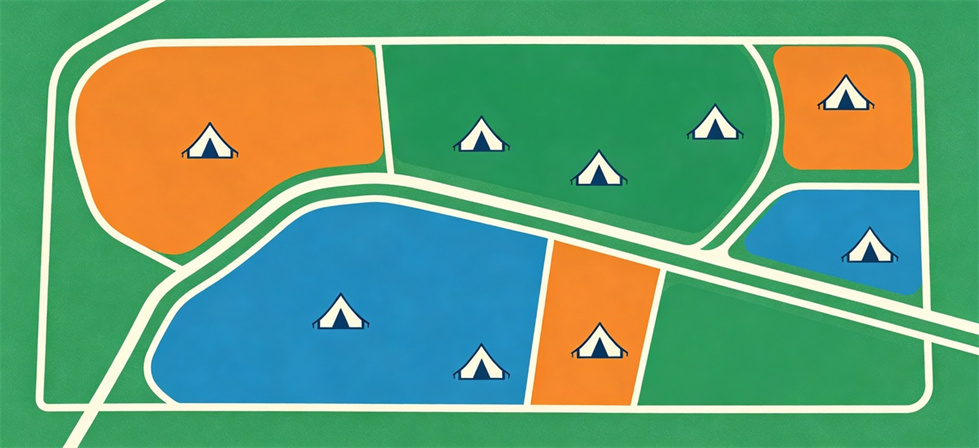
Beyond individual tent layouts, the overall arrangement of the refugee camp matters. A well-organised humanitarian shelter camp reduces confusion, improves safety, and makes distribution more efficient.
A common planning estimate is 30 to 45 square metres of total camp space per person. This includes the tent footprint, walkways, roads, facilities, and green space. For 100 people, plan for 3000 to 4500 m² (about 0.3 to 0.45 hectares). Breakdown: accommodation and walkways use about 15 m²/person, facilities and distribution use 8 m²/person, roads and buffer zones use 7 to 22 m²/person.
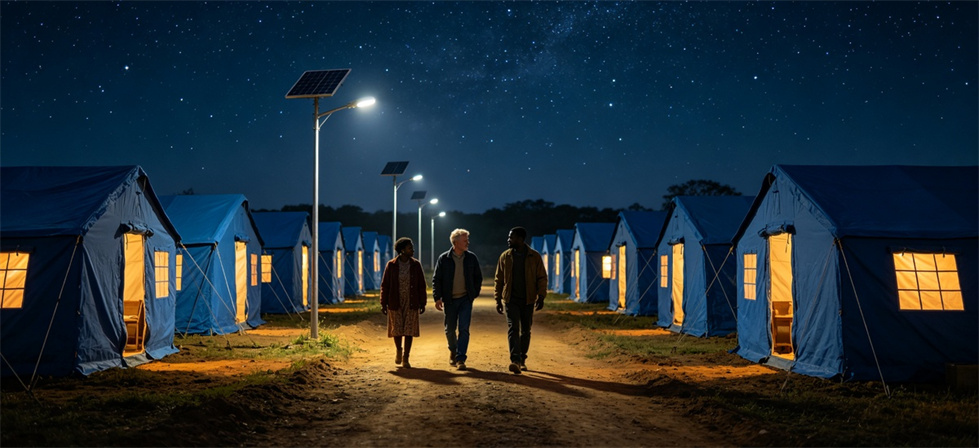
Main camp roads should be at least 3 metres wide to allow vehicle access for supply trucks and ambulances. Secondary paths between tent rows should be 1.5 to 2 metres wide. Mark roads with stones or rope so they stay clear during rain.
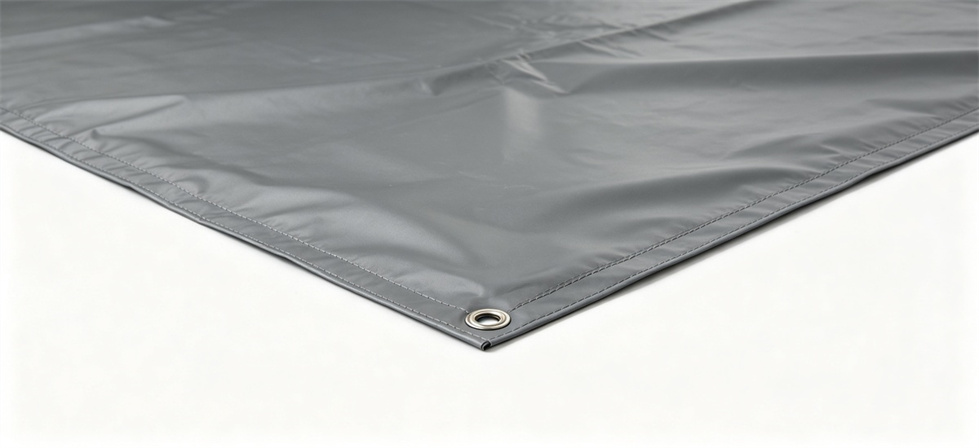
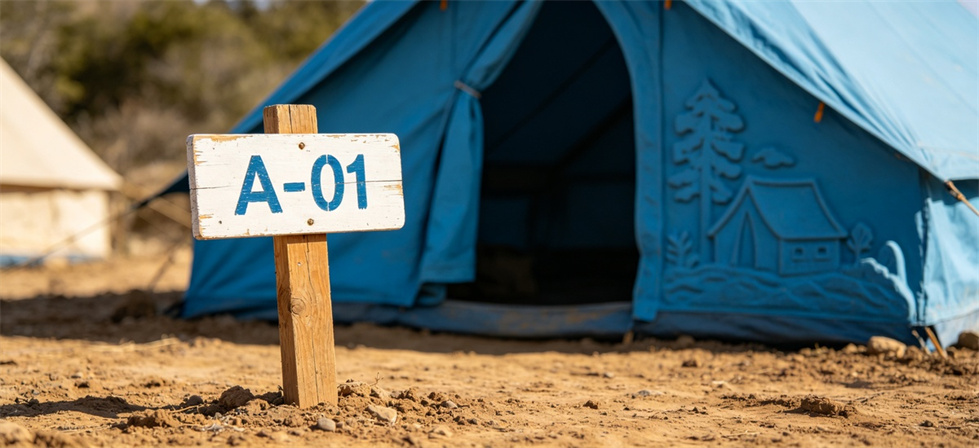
Label each relief tent with a clear number or code — for example, A-01 for the first tent in row A. This helps residents find their shelter, aid workers locate specific families, and maintenance teams track repairs. Use weather-resistant labels or paint on wooden stakes near each entrance.
Plan for lighting along main paths and at distribution points. Solar-powered street lights are the most common option for relief camps. For medical and command tents, arrange for a generator or solar panel setup with cable runs along tent walls. Keep all electrical cables elevated or covered to prevent tripping and water damage.
These are the details that make the difference between a relief tent that works and one that causes problems on site.
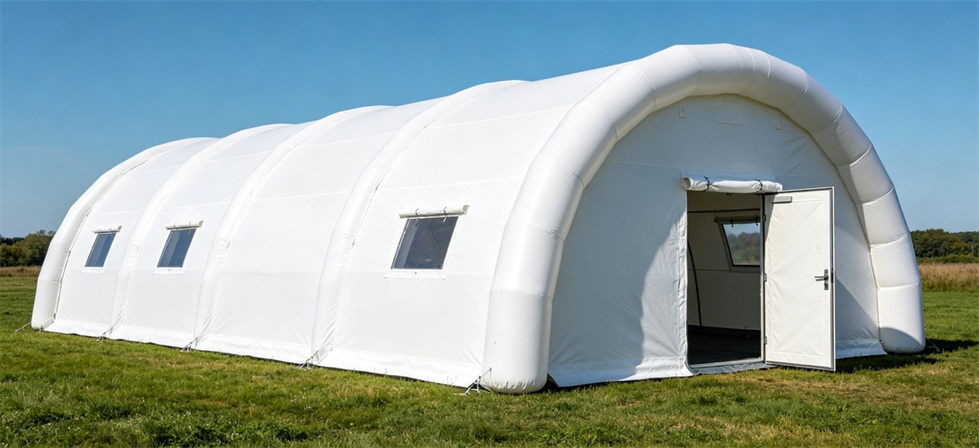
Cause: The external dimensions were used for planning, but the sloping walls reduce usable space. Solution: Always plan based on interior floor dimensions. If in doubt, go one size up — the extra space is worth it for comfort and safety.
Cause: Open-plan layout with no dividers. Solution: Order tents with internal partition walls, or use hanging fabric dividers. Place the recovery zone at the far end of the tent, away from the entrance.
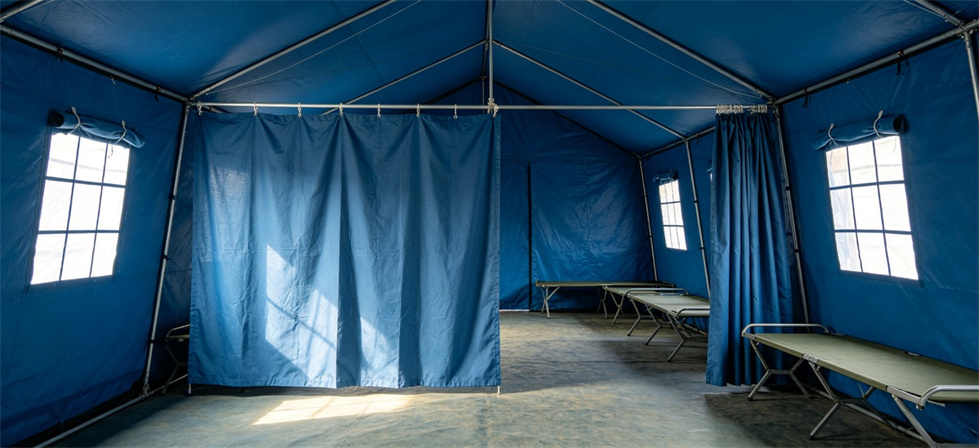
Cause: No shelving or aisle planning. Solution: Install simple metal or wooden shelving along the walls. Mark each zone with signs. Keep a central aisle clear for carts. Use the first-in-first-out rotation system.
Cause: Trying to fit too many tents on a small site. Solution: Prioritise fire safety — at least 2 metres between accommodation tents. If space is tight, reduce the number of tents per row and add more rows rather than squeezing them together.
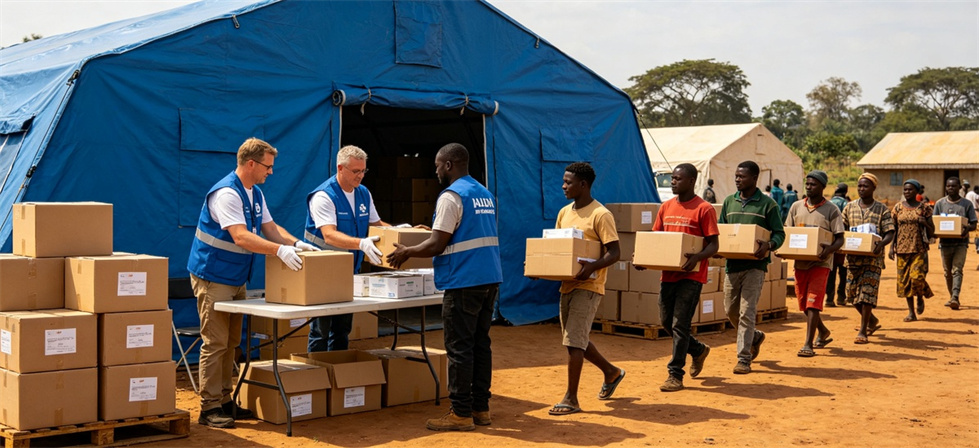
Cause: Poor site drainage or tent placed in a low spot. Solution: Dig a shallow drainage channel around each tent before the rainy season. Raise the tent floor with pallets or a wooden deck. Avoid low-lying ground.
Cause: Insufficient ventilation — doors and windows closed, no roof vents. Solution: Keep opposite doors or windows open for cross-ventilation. Choose tents with mesh windows and roof vents. In hot climates, add a sunshade canopy over the tent roof to reduce direct sun heating. Position tents so the prevailing wind flows through the openings.
Once you have a clear layout plan, the next step is finding a supplier who can deliver the right tents. Having these details ready will help you get an accurate quote and avoid surprises.
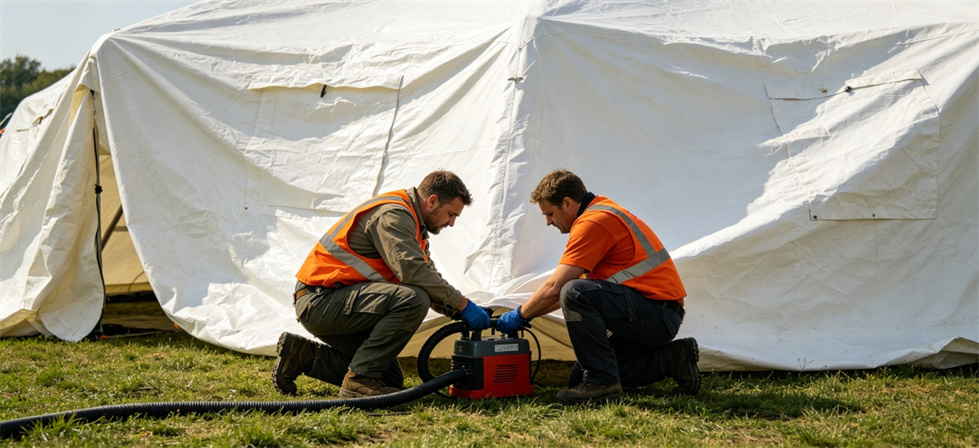
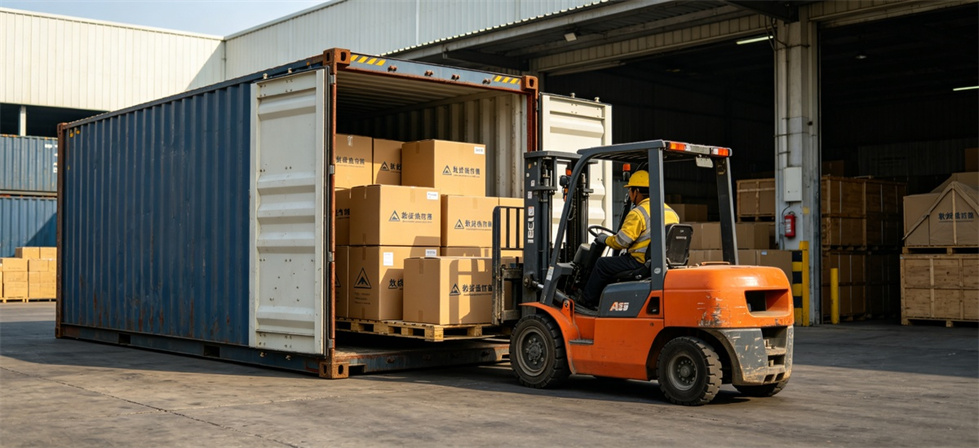
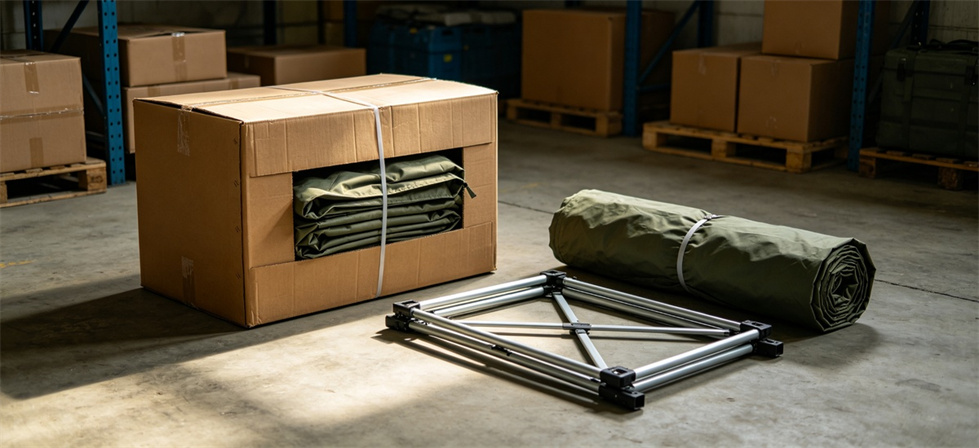
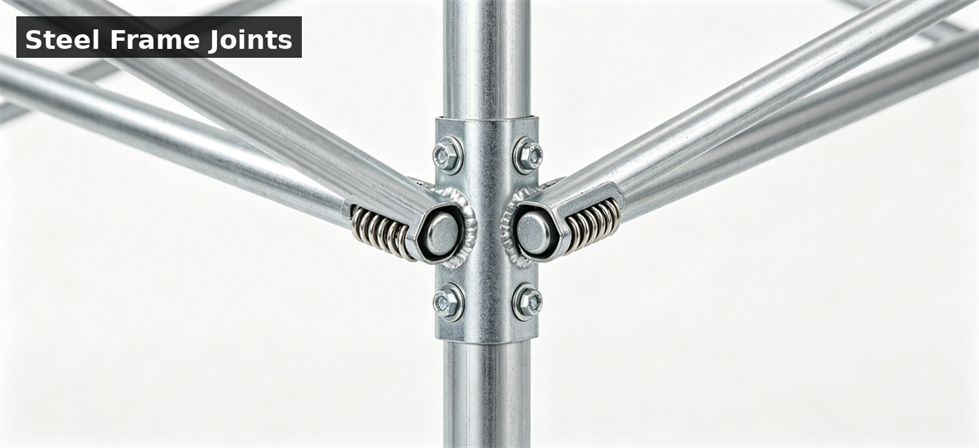
At YRF Textile, we supply a range of relief tents from 12m² family tents to 60m² storage and command tents. All models use galvanised steel frames and waterproof PVC or oxford fabric. We also offer emergency frame tents and inflatable tents for rapid deployment. We can help you match tent sizes to your camp layout plan and provide packing information for container shipping. If you are planning a relief camp and need guidance on tent selection, send us your layout plan and we will recommend the right mix of sizes and accessories.
Once your layout plan is ready, use this checklist to write a clear request for quotation (RFQ). A well-structured RFQ helps suppliers quote accurately and avoids misunderstandings later.

Send this information to suppliers and ask for an itemised quote that lists included components, optional extras, and excluded items. This makes it easy to compare quotes on a like-for-like basis.
A good relief tent layout starts with understanding what each shelter will be used for, then matching the size and accessories to that use. Accommodation needs beds and walkways; medical needs zones and privacy; storage needs shelving and access; command needs workspace and cable management. Confirm the usable interior dimensions, frame quality, and included accessories before ordering, and prepare the site with drainage and spacing in mind.
Take the time to plan the relief tent layout before deployment, and your camp will function more smoothly for everyone who lives and works there.
What size tent do I need for a family of 4?
A 12m² tent (about 3.7 × 3.2m) is the standard size for 3 to 4 people. It fits 2 to 4 beds with a central aisle and personal storage. For a family of 5 or more, choose a 20m² tent (4 × 5m).
A 20m² tent comfortably fits 6 to 8 people in two rows of beds with a central aisle. If you need more space per person — for example in hot climates where air circulation is important — plan for 4 to 6 people.
What is the difference between a relief tent and a regular camping tent?
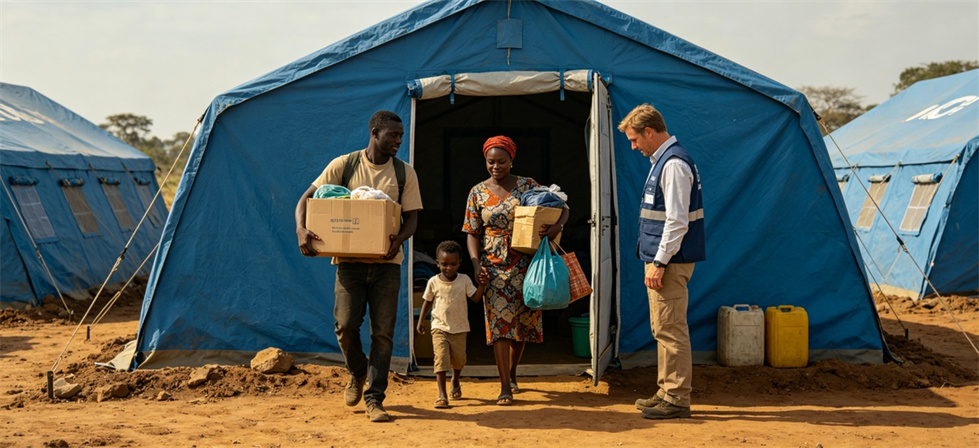
Relief tents (also called emergency tents or disaster shelters) are built for long-term use (months to years), with stronger steel frames, thicker waterproof fabric, and larger interior space. Camping tents are lightweight and designed for short trips. Relief tents also come in standardised sizes that match humanitarian agency specifications.
A 12m² family tent takes 2 to 4 people about 15 to 30 minutes. Larger 30 to 60m² tents take 6 to 8 people 30 to 60 minutes. Quick-deploy frame tents can be set up in under 10 minutes but are less configurable.
Do relief tents come with flooring?
Not always. Some models include a built-in ground sheet; others require a separate floor. Always confirm whether flooring is included. For accommodation and medical tents, a ground sheet is essential to keep out moisture and insects.
Yes. Most suppliers offer custom colours and logo printing for orders above a minimum quantity. Standard relief colours are white, blue, green, and orange. Allow extra production time for custom colours or printing.
How should I store tents when not in use?
Ensure tents are completely dry before packing — moisture causes mould and fabric degradation. Store in a cool, dry place away from direct sunlight. Keep them off the ground on pallets or shelving. Inspect annually for damage and repack if needed.
With proper care, a good-quality steel-frame relief tent lasts 3 to 5 years in regular use. Fabric degrades faster in intense sunlight — expect 2 to 3 years in tropical climates. Frames can last much longer if stored dry and checked for rust.
Send us your camp size, number of residents, and expected uses. We can recommend the right mix of tent sizes and accessories, and provide packing information for shipping. Email us at info@yrftextile.com or message us on WhatsApp.
 |
 |
|
|
|
Liens amicaux :
droits dauteur © Custom Disaster - Relief Bedding: Tents, Sleeping Bags, Blankets Tous les droits sont réservés
léquipe professionnelle au service !